 To speak to a technical support specialist,
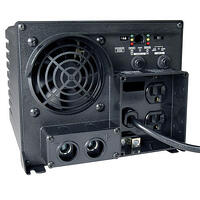
These are normal codes you should see with every charging cycle: BUL = Bulk mode, ABS = Absorption mode and FUL = Full. These are normal indicators and do not indicate any type of problem.
- INDUSTRIES
- PRODUCTS
- EVALUATE
- GET INFORMED
- SUPPORT
- Support
- Contact My Rep
- Regional Sales Managers
- We Are Here for You
- Customer Support: Ellen Hollingsworth
- Contact to place an order, check order status, report a shortage or damaged shipment.
- Phone: 978-605-5117
- Email: customerservice@newcastlesys.com
- -------------------
- Technical Support: Michael Storey
- Contact to troubleshoot a non-working unit or any technical support-related questions.
- Phone: 978-605-5125
- Email: service@newcastlesys.com
- On-Site Services
- Troubleshooting
- Find a Reseller
- Battery Recycling
- Warranty Information
- ABOUT US


Make the Case for Mobile Power in Receiving:
By eliminating paperwork and relying on mobile powered carts, companies can effectively boost dock-to-stock cycle time, eliminate improperly labeled products, and minimize inaccurate inventories.
Why Mobile Power on the Shop Floor?
Pushed to do more with less, and to keep workers as productive as possible in the midst of a labor crunch, managers in manufacturing need state of the art tools that help them improve processes while also minimizing errors and ensuring high levels of quality.

The Retail Point of Sale Revolution:
Mobile POS technologies are transforming the brick-and-mortar retail. Transactions and processes once tethered to fixed cash registers at the front of a store are being shifted to product aisles and outdoor venues.
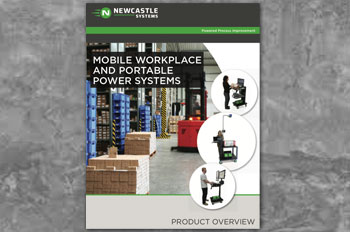
Learn More About Our Products at Your Convenience:
Download our complete Product Overview brochure.
Learn More About Our Products at Your Convenience:
Download our complete Product Overview brochure.
Learn More About Our Products at Your Convenience:
Download our complete Product Overview brochure.
Learn More About Our Products at Your Convenience:
Download our complete Product Overview brochure.
Learn More About Our Products at Your Convenience:
Download our complete Product Overview brochure.
Learn More About Our Products at Your Convenience:
Download our complete Product Overview brochure.
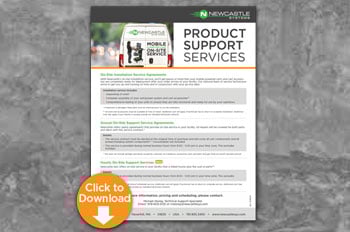
![]() Menu of Product Support Services
Menu of Product Support Services
![]() Menu of Product Support Services
Menu of Product Support Services
![]() Menu of Product Support Services
Menu of Product Support Services
![]() Menu of Product Support Services
Menu of Product Support Services


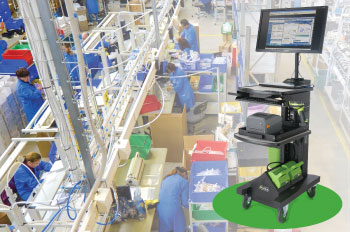
Solutions for your Workplace
With thousands of installations worldwide, Mobile Workstations and Portable Power Systems are proven to increase productivity in a wide variety of workplaces.
Solutions for your Workplace
With thousands of installations worldwide, Mobile Workstations and Portable Power Systems are proven to increase productivity in a wide variety of workplaces.
Solutions for your Workplace
With thousands of installations worldwide, Mobile Workstations and Portable Power Systems are proven to increase productivity in a wide variety of workplaces.